The Qualified Standard Dental Cleaning™
Anesthesia-Free Dog Teeth Cleaning, Done Right
The Qualified Standard Dental Cleaning represents the pinnacle of non-anesthetic technique. Developed in cooperation with multiple dental-focused veterinarians, this technique is practiced in over 500 animal hospitals.
The result is a complete dental cleaning of all tooth surfaces, including below-the-gumline. It is both safe and effective for nearly 90% of the dogs we examine.
Performing the technique requires a significantly different and more-varied skill set than a traditional cleaning does, but a rigorous 6-month training program ensures that our oral care assistants are experts by the time they begin working alone.
7 Steps to a Cleaner and Healthier Mouth
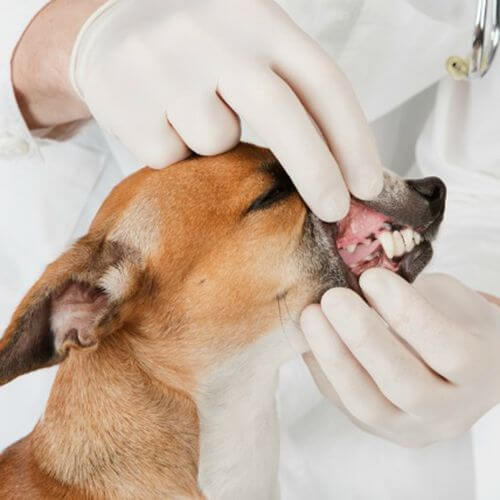
Step 1: Oral Exam
Every treatment begins with a superficial oral exam. At this stage we are establishing the general condition of the dog's mouth along with obvious problems. This includes missing, chipped or broken teeth as well as abscesses or other signs of major infection.
As the treatment progresses and plaque and calculus are removed, this exam process continues and becomes more detailed. Any abnormal periodontal conditions are verified and assessed by the staff veterinarian.
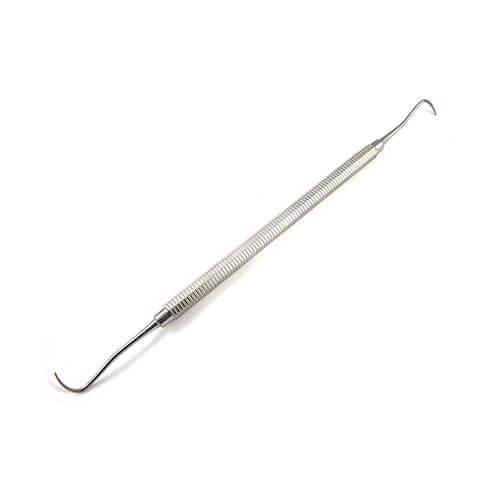
Step 2a: Manual Scaling
Scaling is the term used for the removal of plaque and calculus (tartar) above the gumline. Effective scaling can be achieved both manually and ultrasonically.
While you are likely familiar with the popular "sickle" style of manual scaler, there are actually many variations, each designed use at specific angles and intensities. Our oral care assistants are trained in the use of all of the applicable variations, which means they always use the right tool for the job.
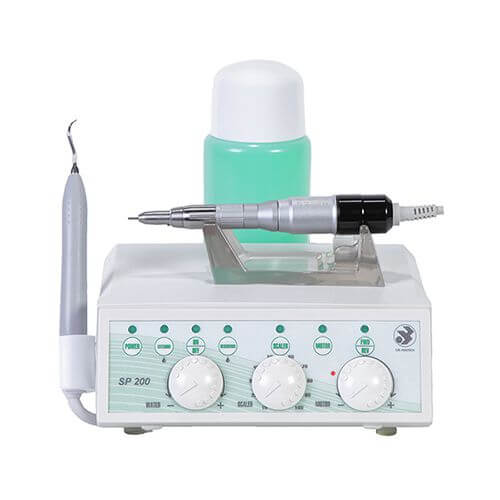
Step 2b: Ultrasonic Scaling
Ultrasonic scalers have made their way into every dentist office in the America, and with good reason. They not only greatly accelerate the cleaning process, but in the right hands, they are a more gentle than using manual tools.
The ultrasonic cleaning action means less force is necessary to remove plaque and tartar, which translates to less eroding of the tooth enamel. Coupled with the fact that the enamel on dog teeth is only about a third the thickness of human tooth enamel, that reduction in damage makes a significant long-term difference.
When used by the appropriately-trained, it is safe and speedy for the removal of most plaque. A manual scaler (the pointy-hook tool) is used for detail work or for dogs who are not comfortable with the ultrasonic.
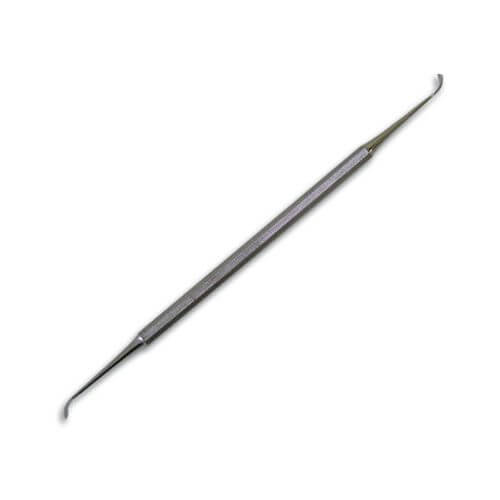
Step 3: Curettage
Under the gumline cleaning that is critical to fighting periodontal disease. For these areas, a flat-bladed tool (curette) is used to prevent damaging the gum tissue while still removing plaque and calculus from the hidden tooth surface.
Curettes have nearly as many variations in design as their pointy-edged cousins, the scalers, each having its specific use. There are also curettage tips for use with ultrasonic equipment. In properly-trained hands, this can make sub-gingival cleaning faster and more effective.
Step 4: Periodontal Probing
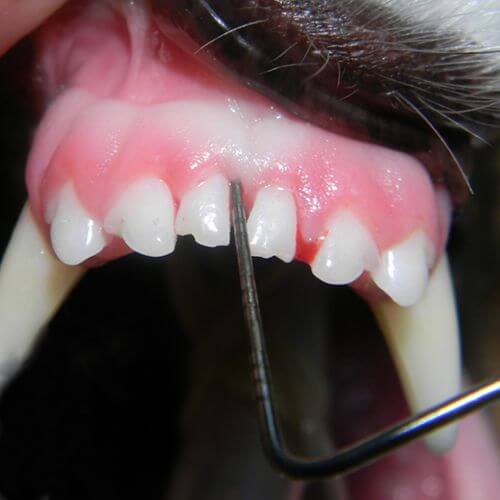
Probing is the process of identifying and measuring the depth of of what we call periodontal pockets. The tool used for this, called a probe, is a thin blunt rod with marking for various depths.
Periodontal pockets are areas where the gum has pulled away from the tooth due to periodontal infection. Checking these areas helps monitor the progression of the disease, as well as improvements, over time.
Step 5: Dental Charting
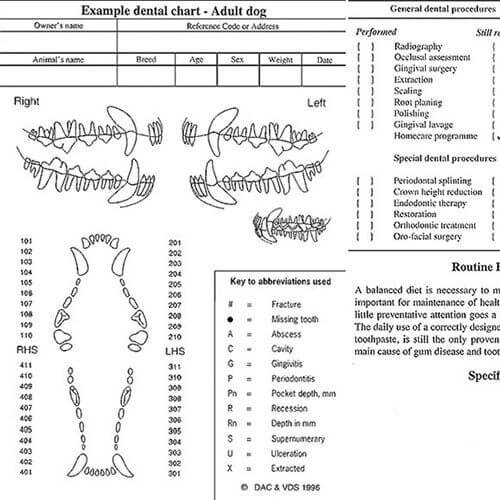
Recording all the findings of the exam is critical for ongoing dental health. Accurate charting can track the development of problems and improvements over time.
All throughout the procedure, findings are recorded here for veterinary assessment. We keep this chart on file in our electronic records system and also provide a copy to you.
Step 6: Rubber-Cup Polishing
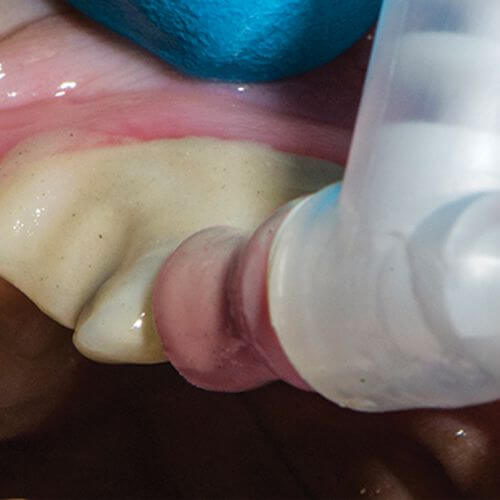
Polishing is about much more than making teeth shiny and attractive. It is a critical step in the preventive cleaning process.
Because of its mechanical nature, scaling and curettage leave the tooth enamel in a rough state (on a microscopic level). Leaving the teeth in this state makes it remarkably easy for oral bacteria to attach itself, causing plaque to begin reforming almost immediately.
Rubber cup polishing smooths the tooth enamel surface, making it much more difficult for bacteria to re-attach. As a result, it slows down the formation of new plaque considerably.
Step 7: Irrigation
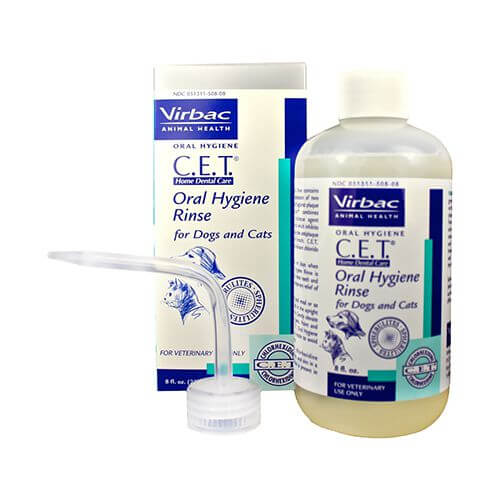
Irrigation is necessary to flush out loose bits of plaque, calculus and other detritus broken loose during the cleaning. We certainly don't want your pet swallowing all that junk!
Qualified oral care assistants irrigate with a chlorhexadine-solution that not only flushes everything clean, but also has the residual effect of combating bad bacteria.